Make.Com Setup
If you hadn't yet read the intro part of this section, please click here to read it first.
Preface
The Cloudonix Make.com application (Click to Install) provides a simple integration between Cloudonix and the Make.com platform. The application enables the user the following capabilities:
- Subscribers Management
- Session Management
- Voice Application Development
- Call Detail Records Processing
Through this integration, a NoCode Integrator can rapidly create call flows, that integrate with other 3rd party tools, creating a seamless experience for both customers and enterprise users.
Setup Overview
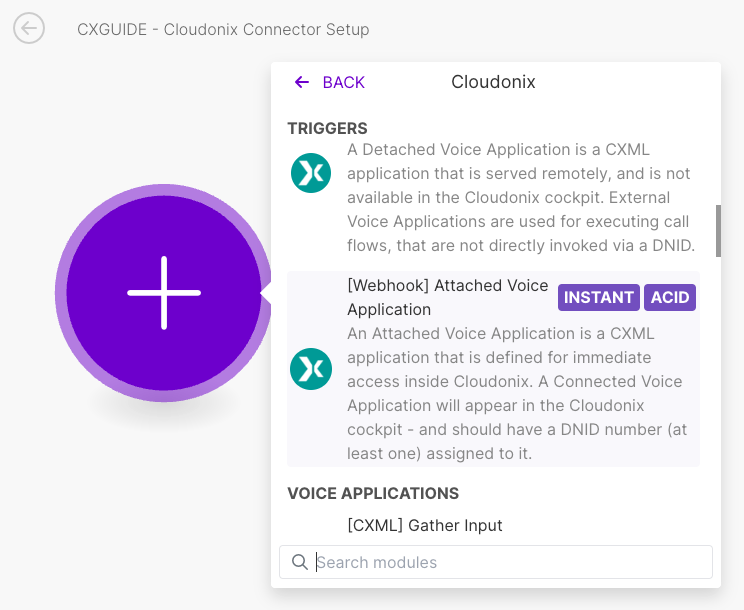
After you've installed the Cloudonix make application into your Make.com account, in order to connect with Cloudonix, you'll need to create your first scenario. Click the Create a new scenario button to create a new scenario and search for the Cloudonix application. Select the Attached Voice Application option:
Cloudonix Connection Setup
Click the Add button to create a new connection. A dialog will appear, you will now need to click the second Add button, to create your first domain connector. You will now use the previously created Domain API Key that you created in the previous step.
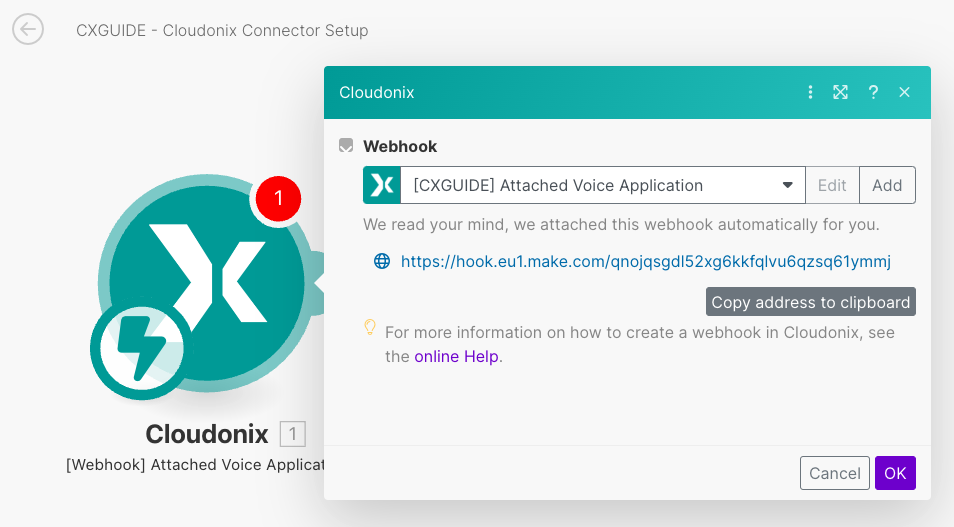
Paste the previously created Voice Application Authorization Key into the proper input box. This will ensure that only requests that include this key will be served by your Make.com scenario. Once completed, the scenario canvas should look like this:
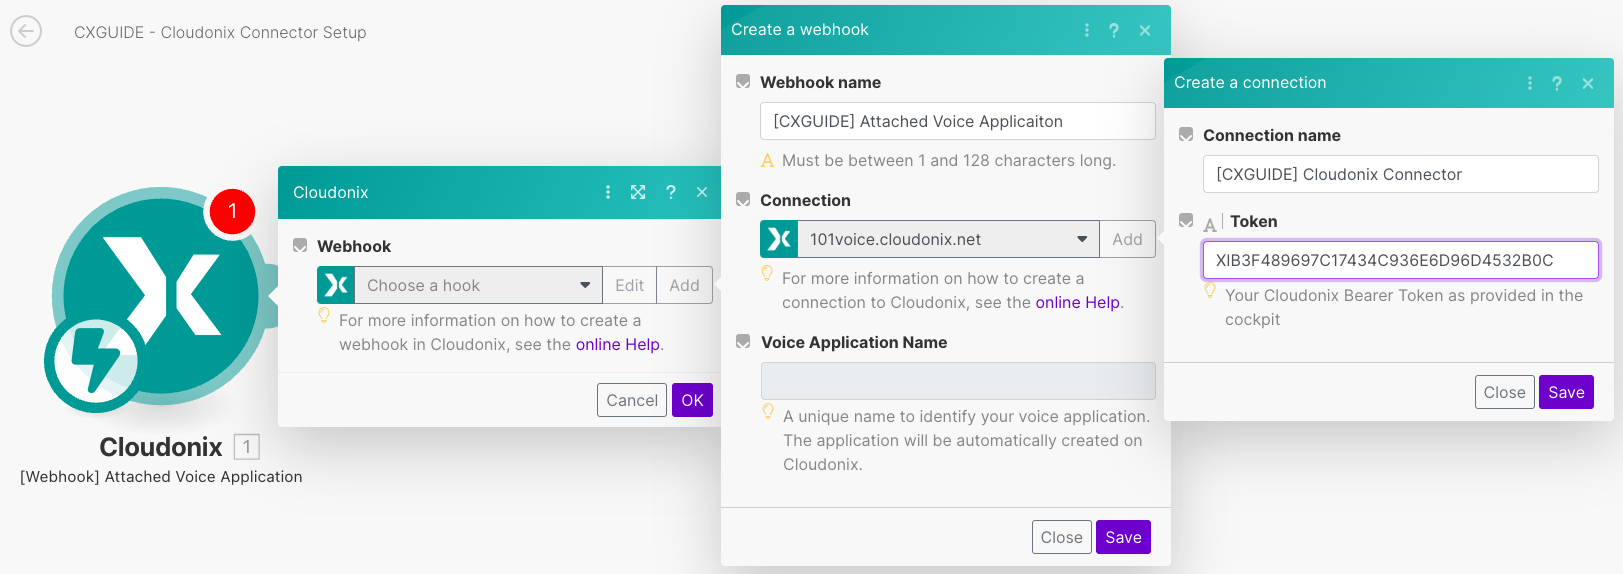
Don't forget to give your new Attached Voice Application a unique name, after creating the initial connection.
Cloudonix Voice Applications View
Open your Cloudonix cockpit and open your domains voice applications view, it should look like this:

You are now ready to start working on your first Make.com voice application.