Telnyx Integration
Telnyx is a cutting-edge Communications Platform as a Service (CPaaS) provider, offering businesses a broad suite of real-time communication services. Through its globally distributed, cloud-based platform, Telnyx enables seamless integration of voice, messaging, and connectivity into applications, systems, or workflows.
You can integrate Telnyx with Cloudonix, enabling inbound and outbound calling to/from your Cloudonix voice applications.
For the impatient
Telnyx Setup
Log in to your Telnyx account and follow the steps below, to configure your inbound/outbound trunks. This guide assumes that you already have a Telnyx account, with sufficient credit.
To setup a Telnyx SIP Trunk for outbound calls from Cloudonix, select Voice->SIP Trunking in the Telnyx management portal. Once selected, click the Create SIP Connection button to create a new SIP trunk connection.
The following screen will appear:
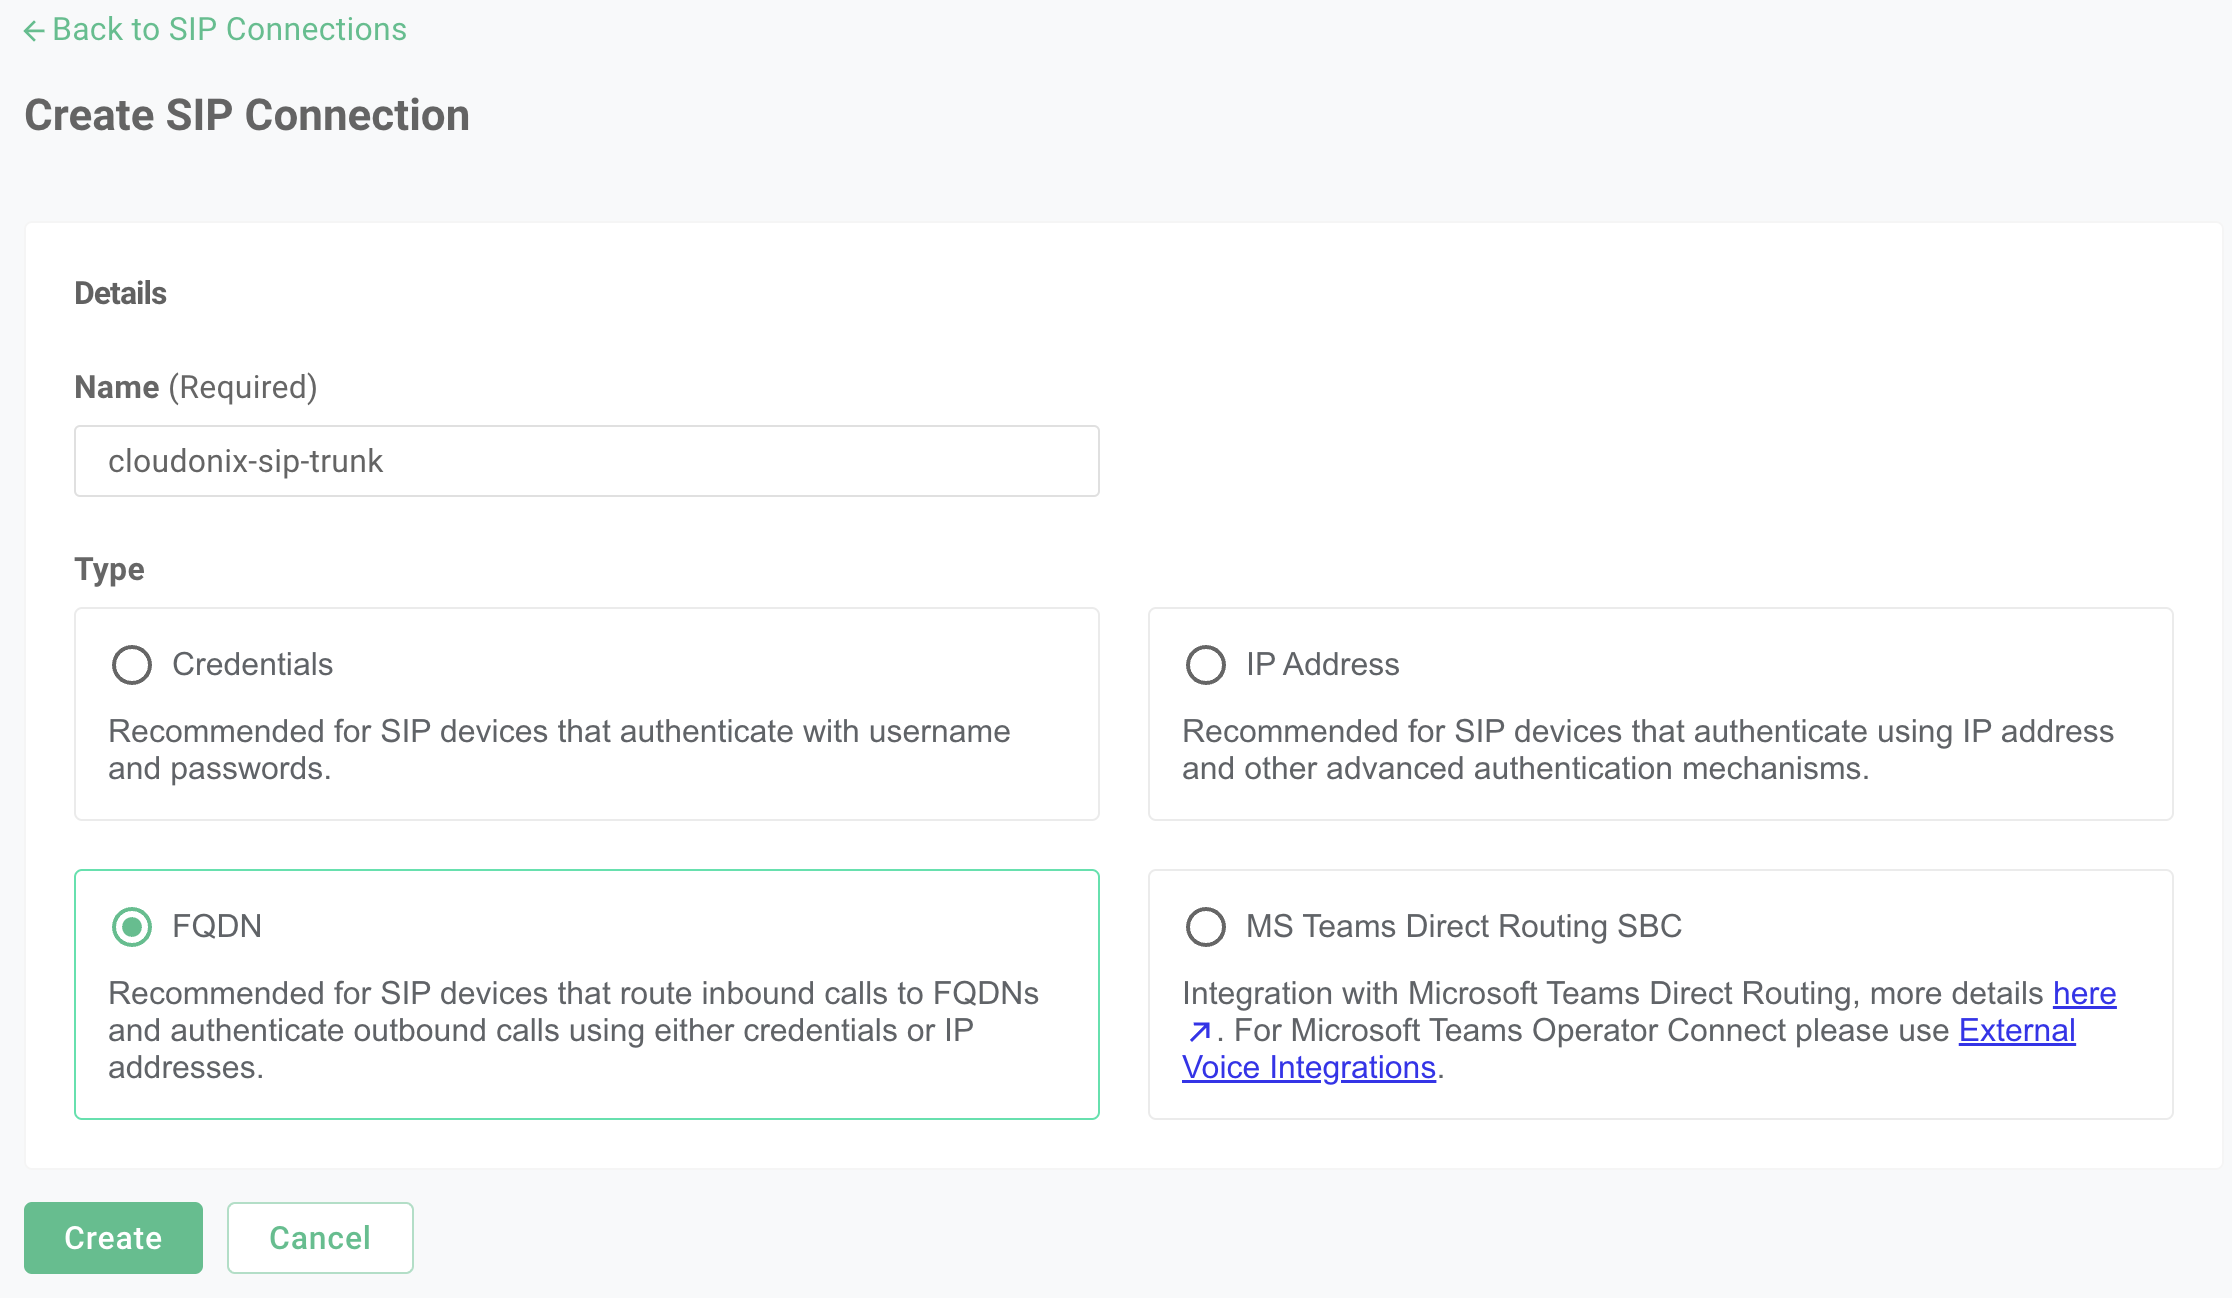
Give a name for your SIP Trunk and selected the FQDN option, then click on Create.
To get your domain CNAME alias to input to Telnyx, go to the Inbound Trunks section of your Cloudonix account, the following will appear:
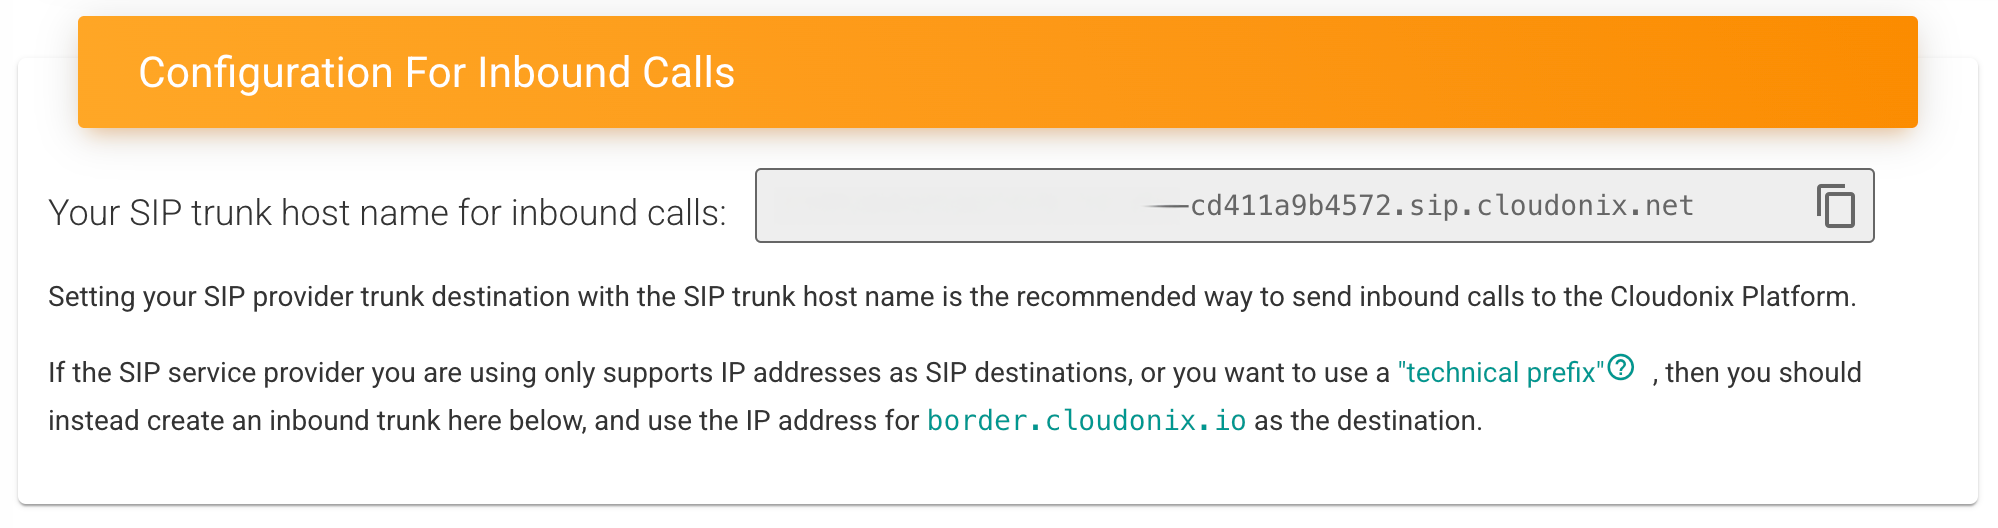
Copy the first section of your alias to be used in Telnyx for inbound calls into Telnyx. Then, enter the full domain name to the Primary FQDN field in Telnyx.
The following screen will appear:
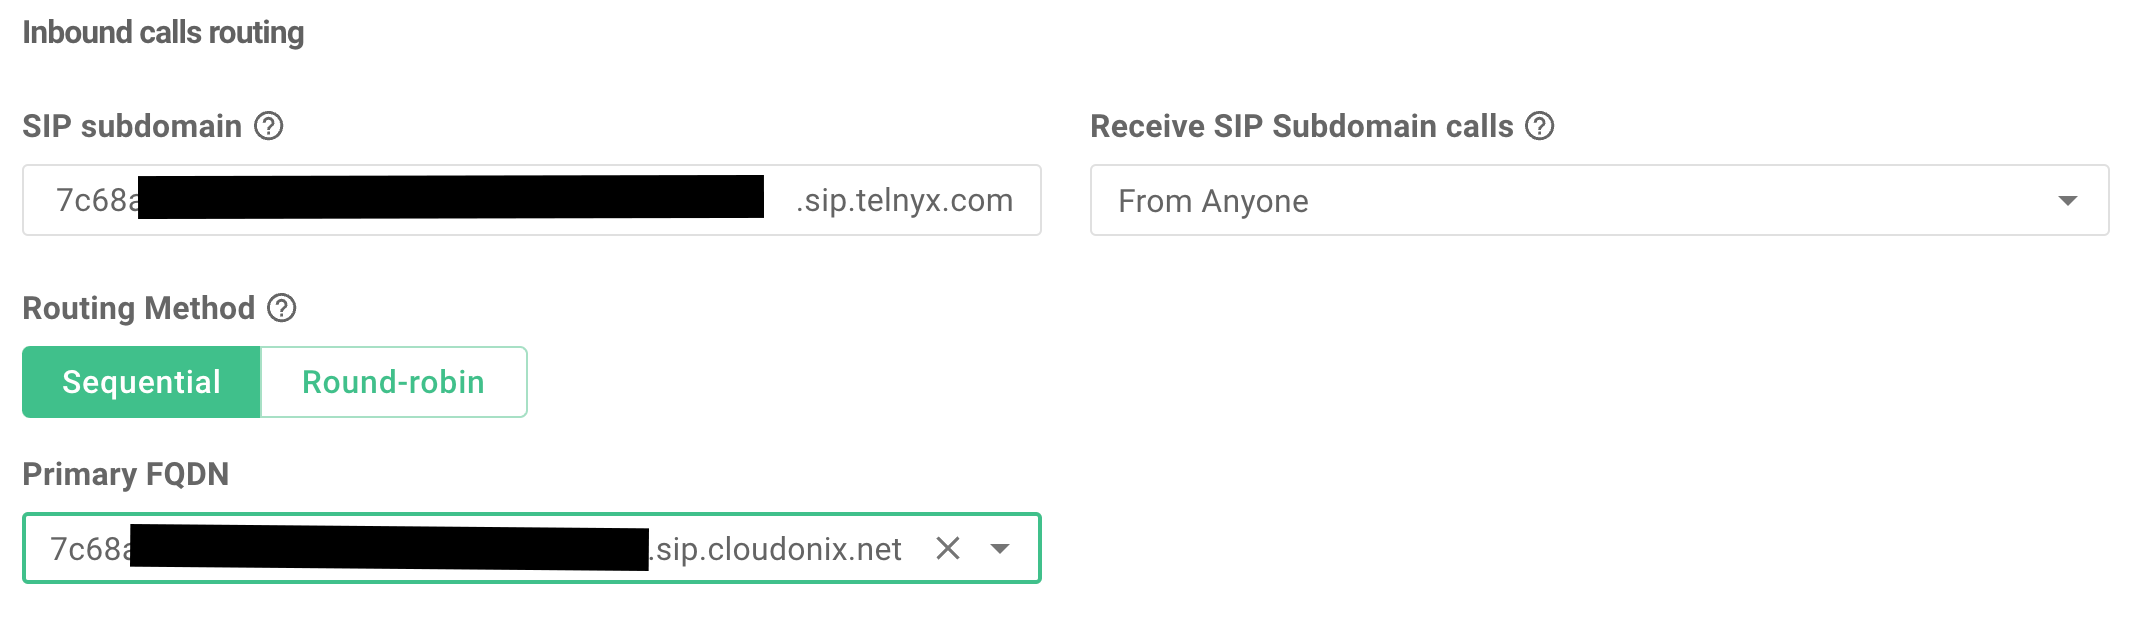
Click the Add FQDN button to add your Cloudonix CNAME alias, the following screen will appear:
Configure your inbound calls routing domain, by adding your CNAME alias to the Telnyx SIP subdomain. In addition, as following: set your Primary FQDN to point to the FQDN entry you created previously.

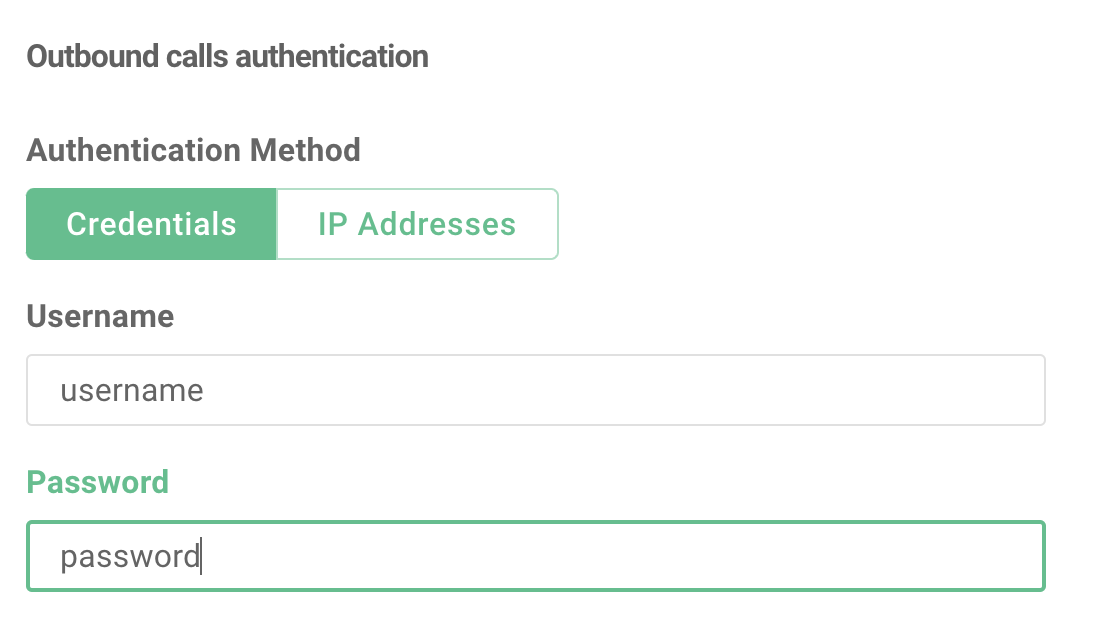
To enable outbound calls, set a username and password in the Outbound calls authentication section, as following:
Click the Next button to continue your setup. On the next screen, leave all defaults as is and click the Next button.
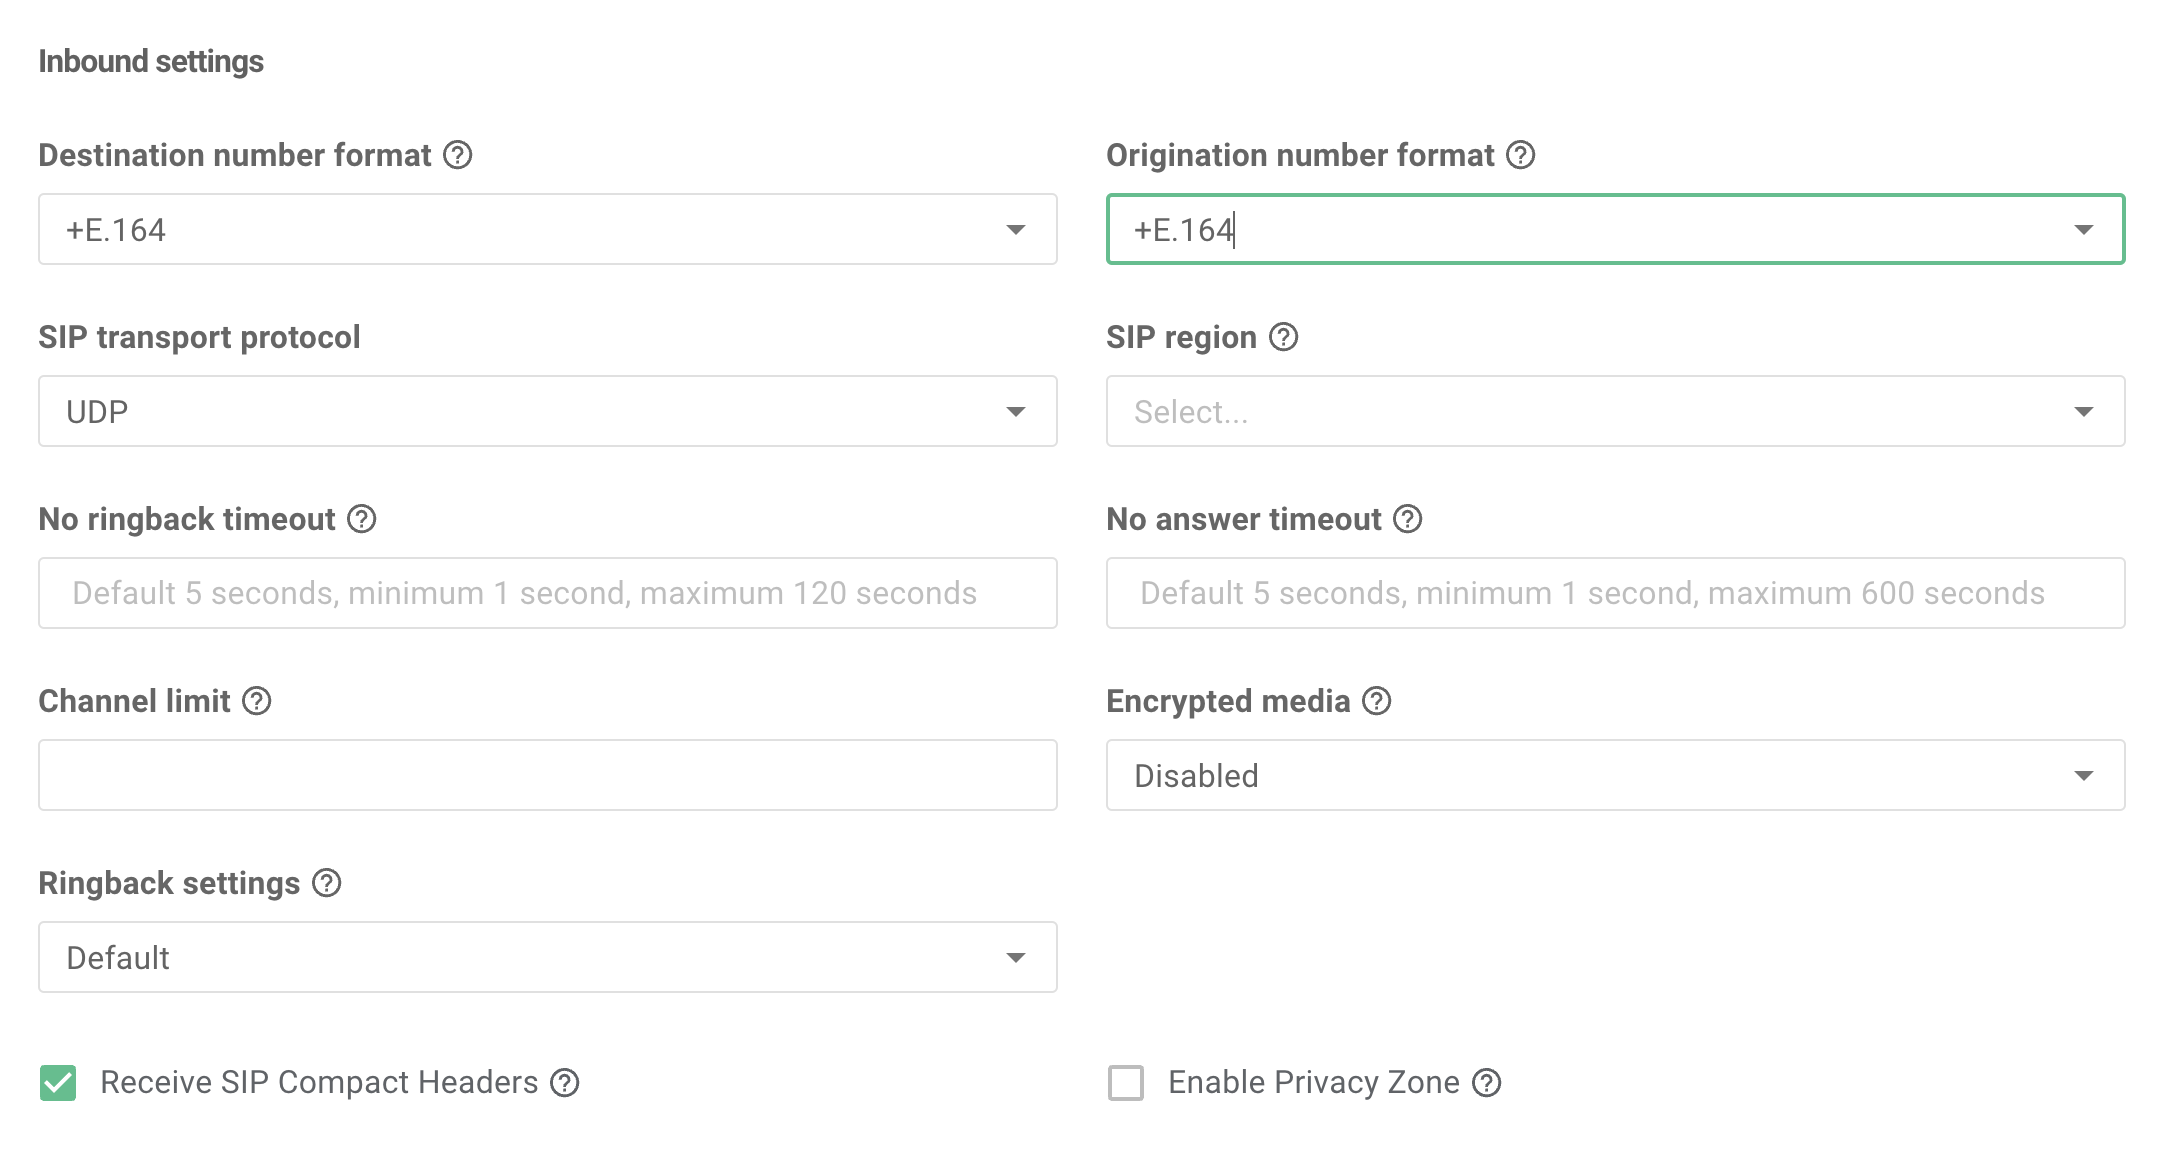
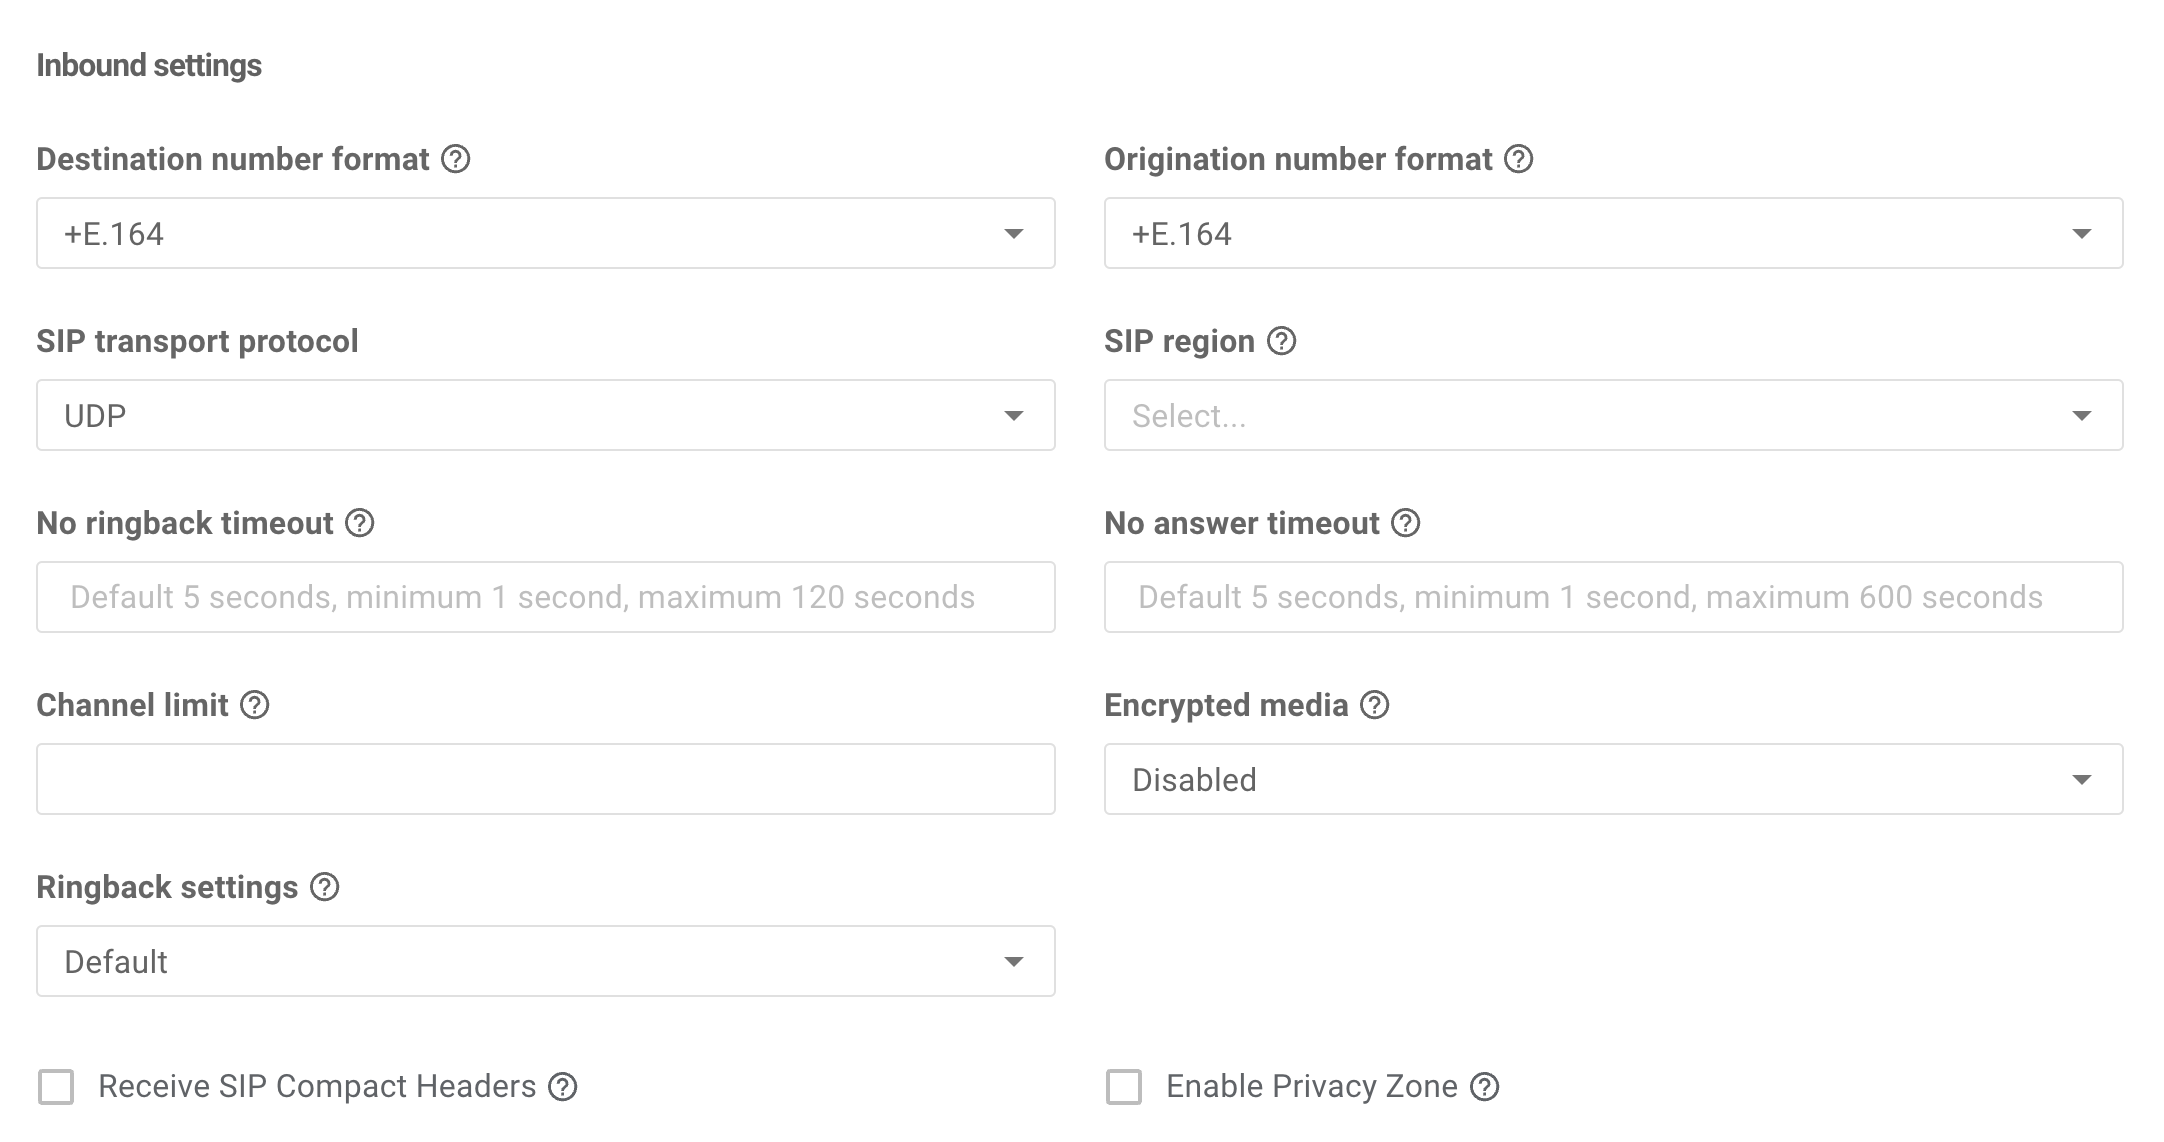
Now, set your Destination number format and Origination number format to +E.164. Next, make sure the Receive SIP Compact Headers
option is DISABLED and click the Next button.
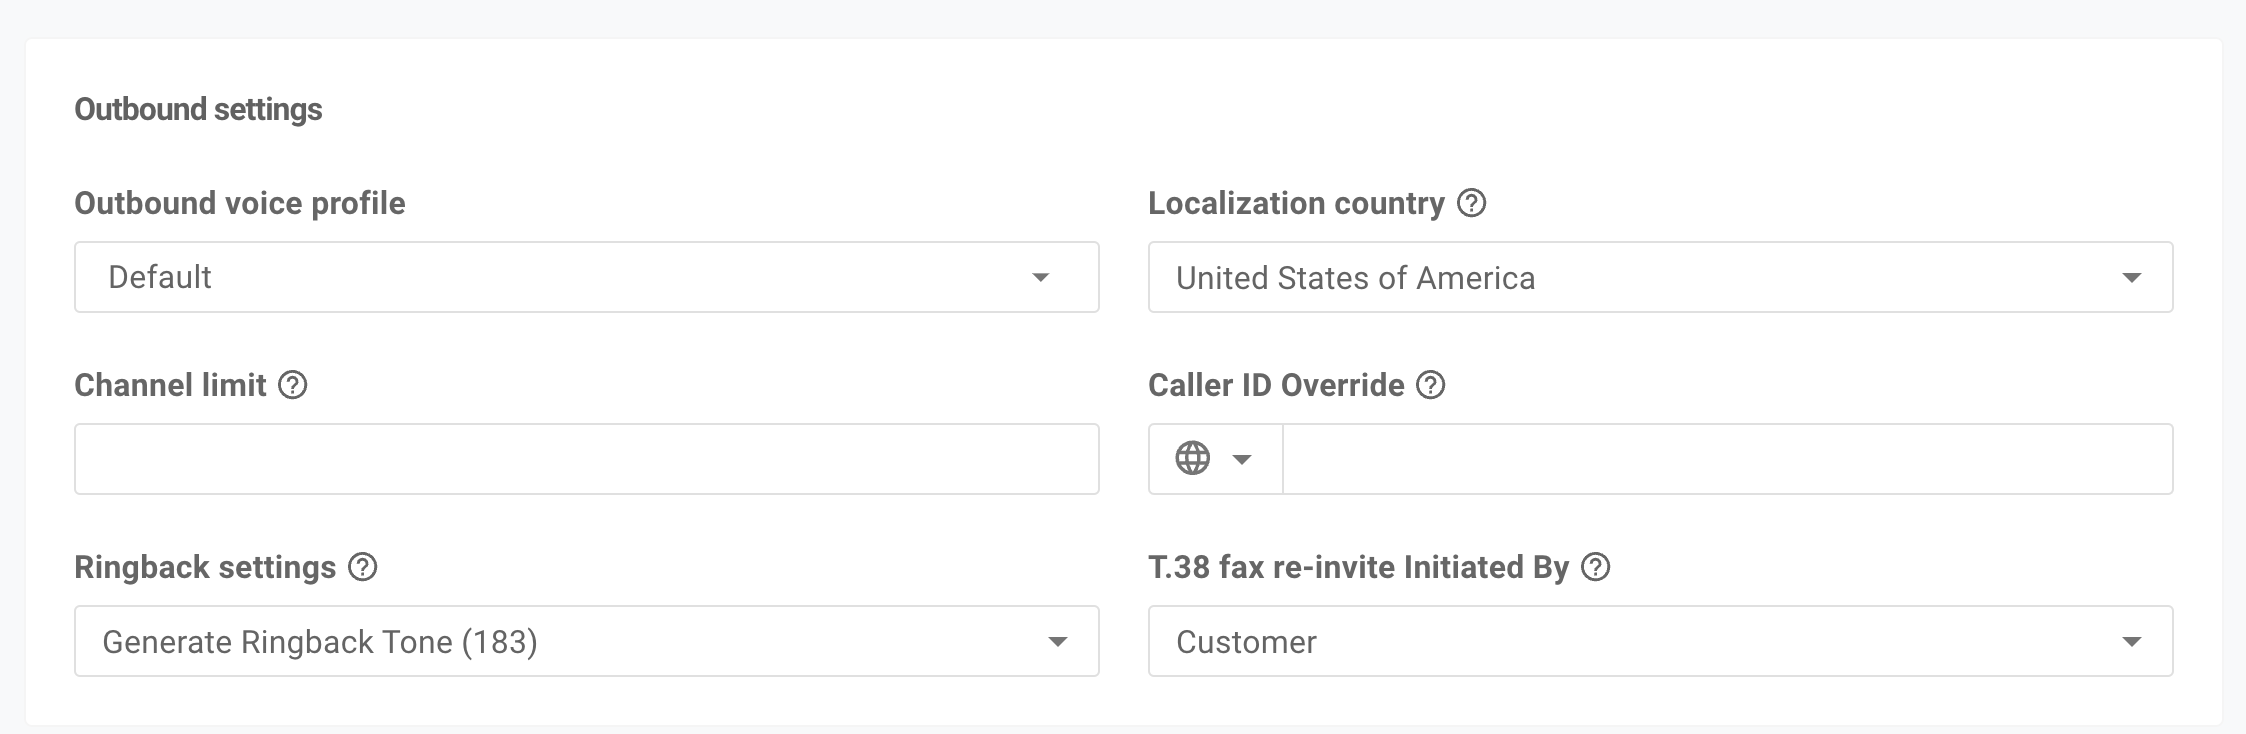
On the next screen, set your Outbound voice profile to default and change your Ringback settings to Generate Ringback Tone (183).
This will ensure a smoother user experience. Consult with the Telnyx documentation to learn more about the Outbound voice profile.
Now, click the Next button. In the next screen, you may assign numbers to your newly created SIP trunk. For the time being, we won't do that.
Cloudonix Setup
Logon to your Cloudonix cockpit account and select your desired domain. Once in the domain, click the
Outbound Trunks menu option, and click the purple PLUS button to create a new outbound trunk. Using the
Username and Password you previously created, create a new Outbound Trunk. For the SIP Address,
use the previously provided Primary FQDN. Your Cloudonix setup should look like this:
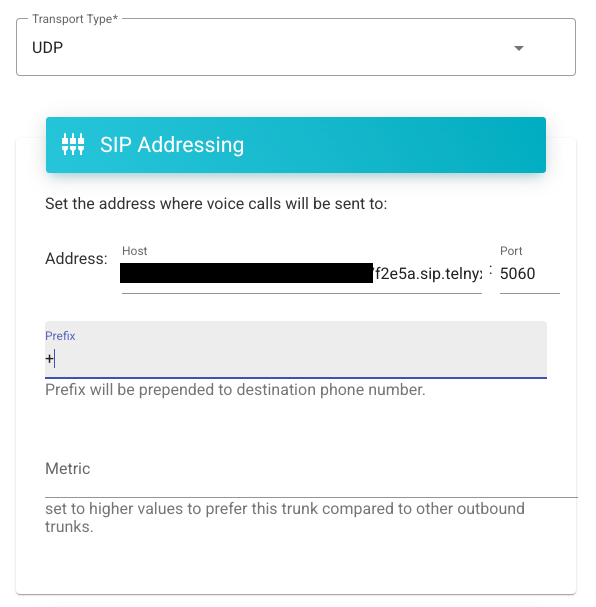
Note the that appears in the prefix, that is VERY IMPORTANT. Telnyx requires that all calls to it be performed in a full E.164 format, which is the international dialing format, prefixed with a plus sign.
Now, you need to configure your outbound SIP Authentication credentials, as below:
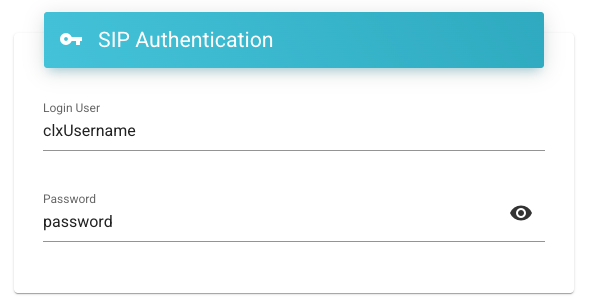
Save your Cloudonix outbound trunk configuration, and that's it, your Cloudonix domain is now connected to Telnyx.