Voice Application Setup
While container applications provide the building blocks for building a call-flow, to make them fully functional we need to attach these to a voice application resource.
The following assumes that you either have a voice trunk connected to your account or at least a IP phone (hardware or software). If you don't, please follow the "Your First Application" tutorial, before you continue with this section.
Step 1: Attach Container Voice Application
In your Cloudonix account, under your chosen domain, select the Applications. Once inside the Voice Applications view, click the button, to create a new Voice Application. The following screen will appear:
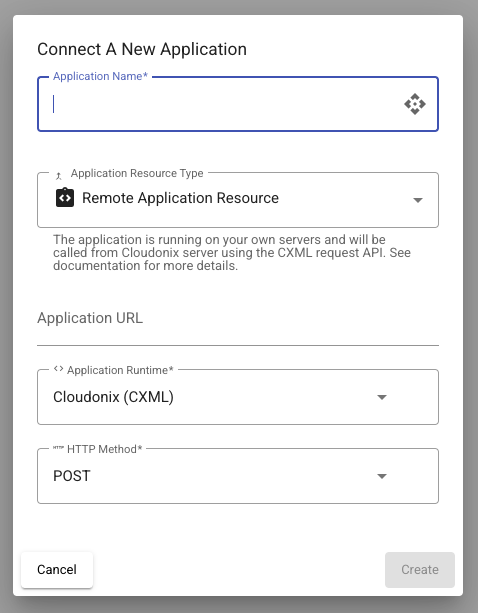
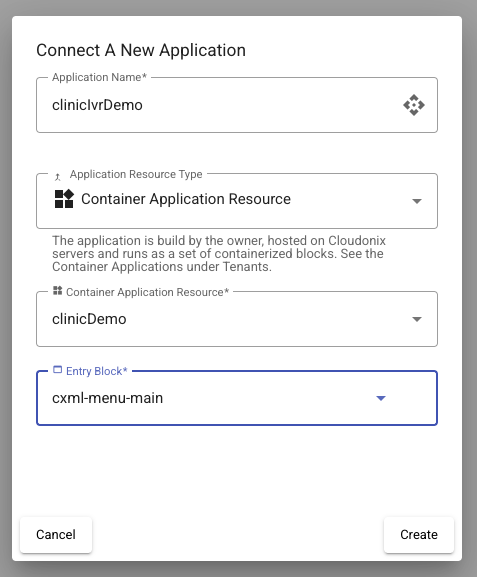
Use the following information to fill the form:
| Form Field | Value |
|---|---|
| Application Name | clinic_ivr_demo |
| Application Resource Type | Container Application Resource |
| Container Application Resource | clinicDemo |
| Entry Block | cxml-main-menu |
Once you've filled all fields, the form should look like this:
Click the Create button to save your voice application. The following line will appear in your Voice Application view:

Congrats! — Your container application is now attached to a voice application and is ready for the next step.
Step 2: Attach DNID Voice Application
In the Voice Applications view, click the icon, to enter the Voice Application Setup view. The following screen will appear:
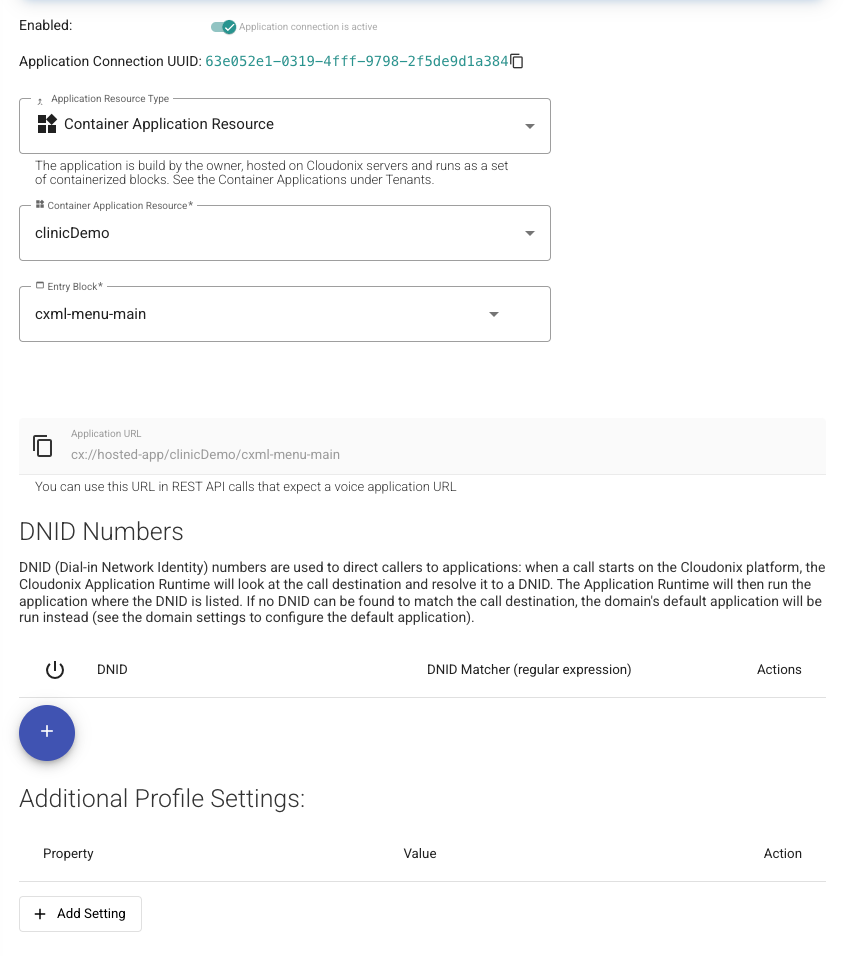
Click the button, to assign a DNID number to your Voice Application. The following screen will appear:
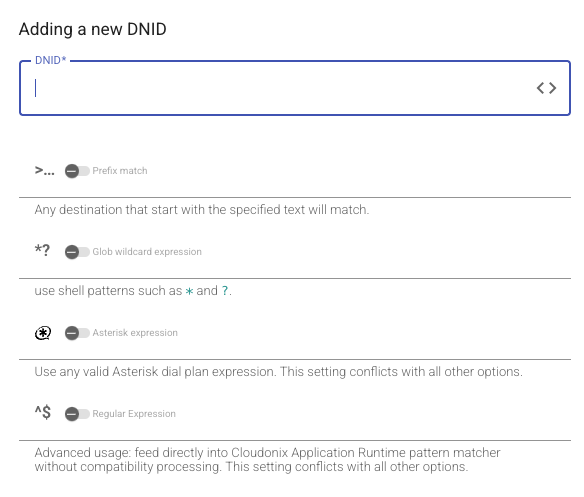
Add the number 10000 to the field named DNID and click the OK button. Once the finished, click the Back to application list button, your Voice Applications view should show the following line:

There is much more information about Voice Applications, DNIDs and their various associated options. You learn more about these here.
Step 3: Test your Voice Application
Assuming you've connected an IP phone to your Cloudonix account and domain, dialing the number 10000 from your IP phone will activate your Voice Application.