Asterisk Integration - chan_pjsip
Asterisk is a software implementation of a private branch exchange (PBX). In conjunction with suitable telephony hardware interfaces and network applications, Asterisk is used to establish and control telephone calls between telecommunication endpoints such as customary telephone sets, destinations on the public switched telephone network (PSTN) and devices or services on voice over Internet Protocol (VoIP) networks. Its name comes from the asterisk (*) symbol for a signal used in dual-tone multi-frequency (DTMF) dialing.
Pre-Requisites
The following guide assumes the following:
- You have a working Asterisk installation.
- Your Asterisk server is located behind a Static-NAT or has a public IP address.
- You are connected to your Asterisk server, using an IP Phone or a soft phone.
- You are familiar with the Asterisk dialplan configuration file (
/etc/asterisk/externsions.conf). - You are familiar with the Asterisk pjsip configuration file (
/etc/asterisk/pjsip.conf). - You are familiar with the Asterisk pjsip_wizard configuration file (
/etc/asterisk/pjsip_wizard.conf).
This guide assumes that you are already well versed with Asterisk, and thus, we'll not go through a step-by-step configuration guide.
Asterisk Setup
PJSIP Configuration
[transport-udp]
type=transport
protocol=udp
bind=0.0.0.0
;local_net=                      - Required for Asterisk behind NAT
;external_media_address=         - Required for Asterisk behind NAT
;external_signaling_address=     - Required for Asterisk behind NAT
[1234567890-abcdefg.sip.cloudonix.net]
type=wizard
endpoint/transport = transport-udp
endpoint/allow = !all,alaw,ulaw,g729
endpoint/rewrite_contact = yes
endpoint/dtmf_mode = rfc4733
endpoint/context = from-cloudonix
endpoint/force_rport = yes
aor/qualify_frequency = 60
sends_auth = no
sends_registrations = no
accepts_auth = yes
remote_hosts = 1234567890-abcdefg.sip.cloudonix.net:5060
endpoint/100rel = no
endpoint/timers=no

[clxUsername](1234567890-abcdefg.sip.cloudonix.net)
inbound_auth/username = clxUsername
inbound_auth/password = password
Dialplan Configuration
[from-cloudonix]
exten => _X.,1,Answer
 same =>     n,Wait(1)
 same =>     n,Playback(demo-congrats)
 same =>     n,Hangup()
Cloudonix Setup
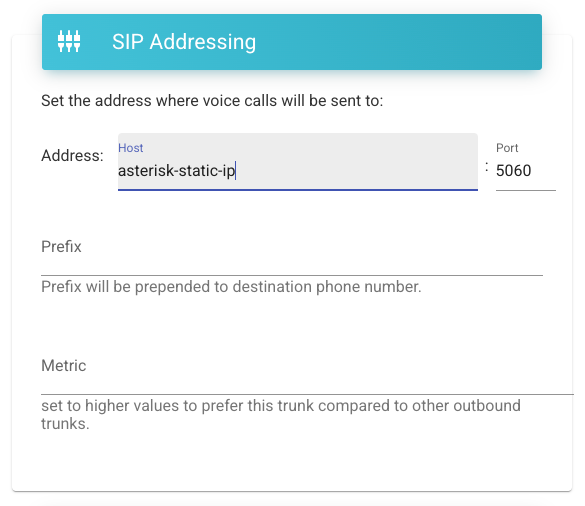
Logon to your Cloudonix cockpit account and select your desired domain. Once in the domain, click the
Outbound Trunks menu option, and click the purple PLUS button to create a new outbound trunk. Using the
Username and Password you previously created, create a new Outbound Trunk. For the SIP Address,
use your Asterisk server static IP number assignment. Your Cloudonix setup should look like this:
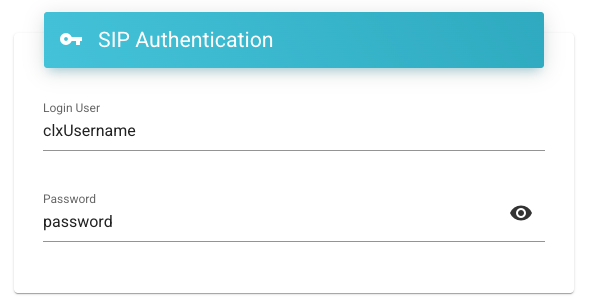
Now, you need to configure your outbound SIP Authentication credentials, as below:
Save your Cloudonix outbound trunk configuration, and that's it, your Cloudonix domain is now connected to your Asterisk server.