Create a Subscriber
The Cloudonix domain cloudonix-demo-customer.cloudonix.net is used for demonstration purposes and is not intended for production use.
Make sure to adapt your setup, based on your specific Cloudonix domain, etc.
As previously explained, a subscriber represents a remotely connected SIP compliant endpoint (can be hardware or software),
that is directly connected to the platform. To access the Subscribers resources view, click the relevant link from the left
navigation bar, the following screen will appear:
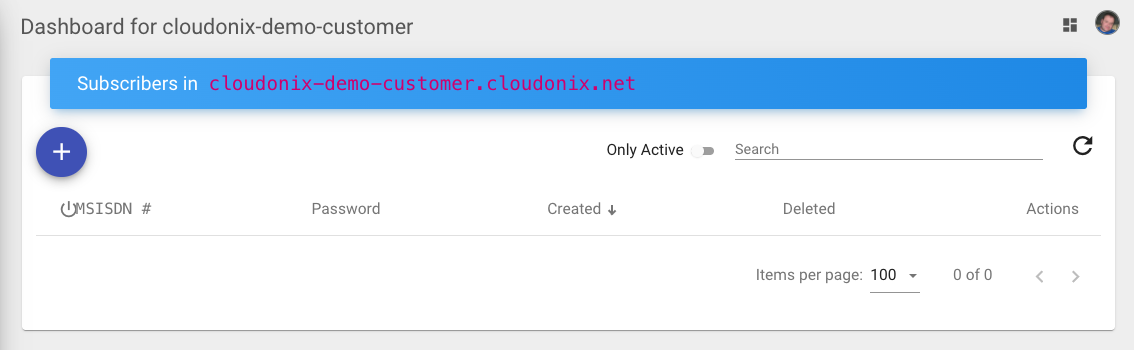
The Subscribers view provides the following information:
| Title | Description |
|---|---|
| MSISDN | An MSISDN is your subscriber identifier - for all practical matters, a username. The term MSISDN stands for Mobile Station ISDN Number, which is a fancy term for a phone number. In Cloudonix, your MSISDN can also be an alpha-numeric string, so you are not limited to digits only. |
| Password | Passwords are optional, as Cloudonix provides a special security paradigm called RegFree Dialing. Passwords are used for legacy SIP devices that require username/password comibations, eg. desk-phones, soft phones, etc. |
| Created | The date and time when the subscriber was created. |
| Deleted | If a subscriber is deleted, this field will show a specific date. In order to maintain data consistency, subscribers are never deleted - they are only marked as deleted for future reference. |
| Actions | See Below. |
Subscriber View Actions
Once a subscriber has been created, the following actions are available:
| Action | Description |
|---|---|
| Subscriber settings will enable you to assign or change a subscribers current status and its password. | |
| Delete a subscriber. | |
| Deprecated - To be removed in the next version. |
Setting up your first subscriber
For the purpose of this tutorial, we'll use the Zoiper SIP softphone. You may refer to our Subscriber Management Page, for more information about compatible SIP phones.
Use the following link to download a Zoiper version that fits your computer or mobile device. In the next section, we'll explain how to connect your Zoiper application to a Cloudonix subscriber account.
Step 1: Add a Cloudonix subscriber
Click the Plus button at the top of your Subscribers view, the following dialog will appear:
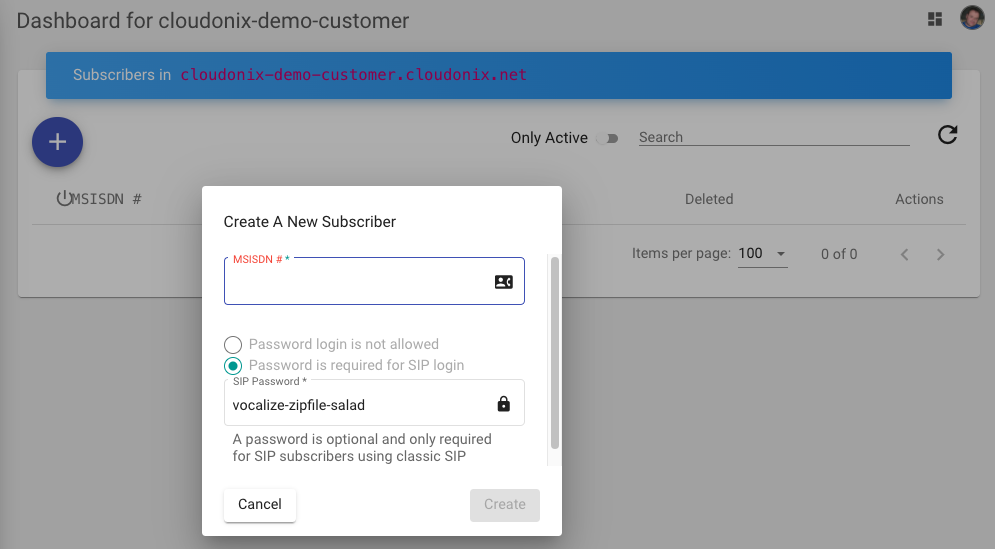
When creating a new subscriber, the interface will automatically create a secured password for you. You may change that password (not advised), or set the subscriber to Password login is not allowed. If password login isn't allowed, the subscriber is limited to Cloudonix's RegFree Dialing security workflows.
Enter the following number in the MSISDN field: 10101 and click the Create button. Once completed, the screen will refresh
showing the new subscribers list:
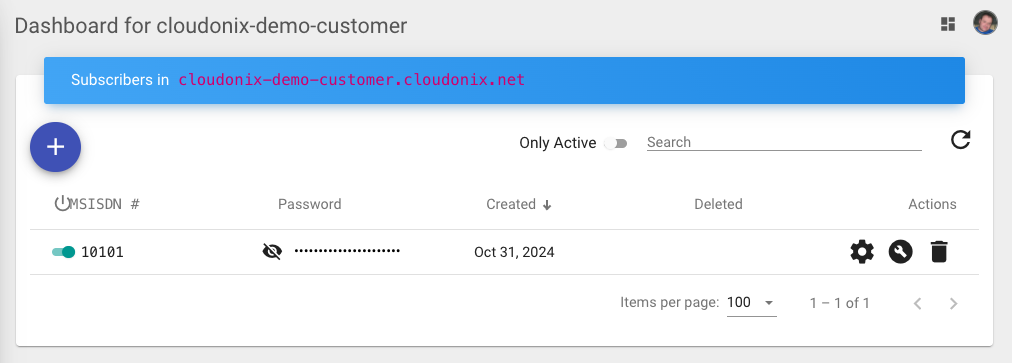
Click the icon to expose the provisioned password.
Your Cloudonix subscriber is ready to be used.
Step 2: Installing and Connecting Zoiper to Cloudonix
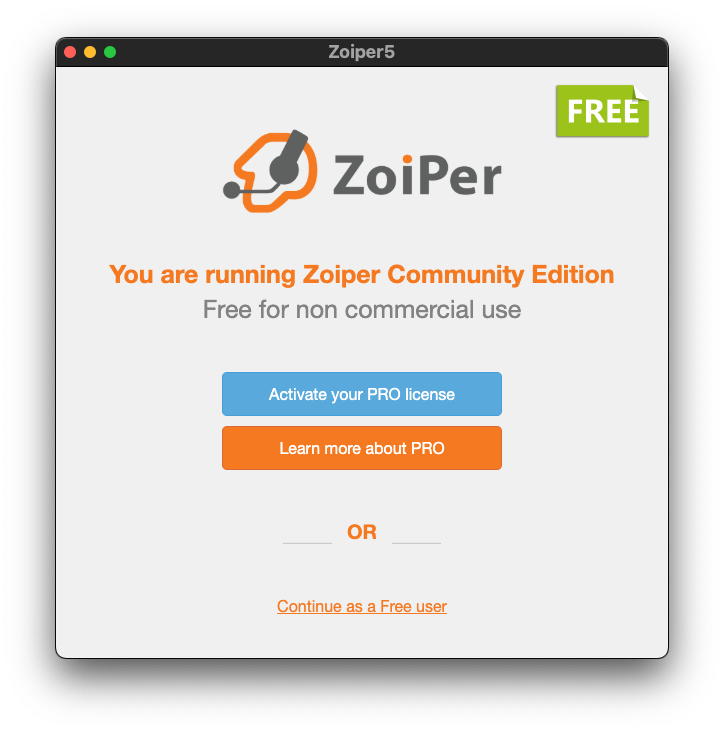
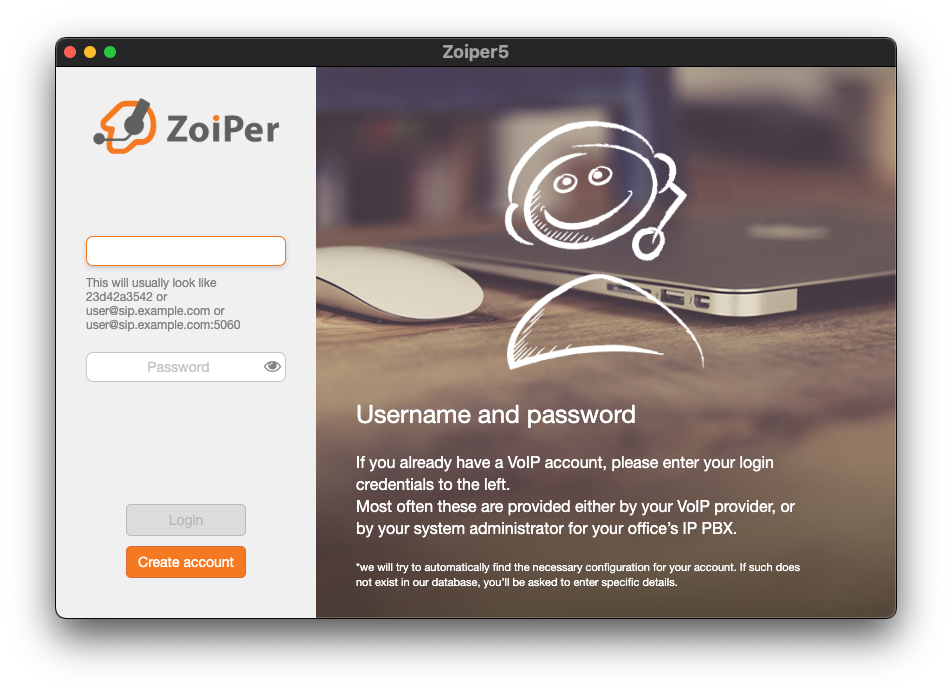
Download the version that is suitable for your computer or mobile device and start it. Upon first startup, you will be greeted with the following screen:
Click the Continue as a Free user to continue your application setup. The following screen will appear:
Not all SIP devices and software are identical, in fact, while they share functionality - their configurations may differ. If you are unsure about your device or software configuration, we recommend joining our Discord community and discussing your specific configuration, with one of our community support engineers.
Fill the following information into the form:
| Title | Description |
|---|---|
| Username/Login | The subscriber and domain you created. Eg. 10101@cloudonix-demo-customer.cloudonix.net |
| Password | The password that was either autogenerated or assigned by you to the subscriber. |
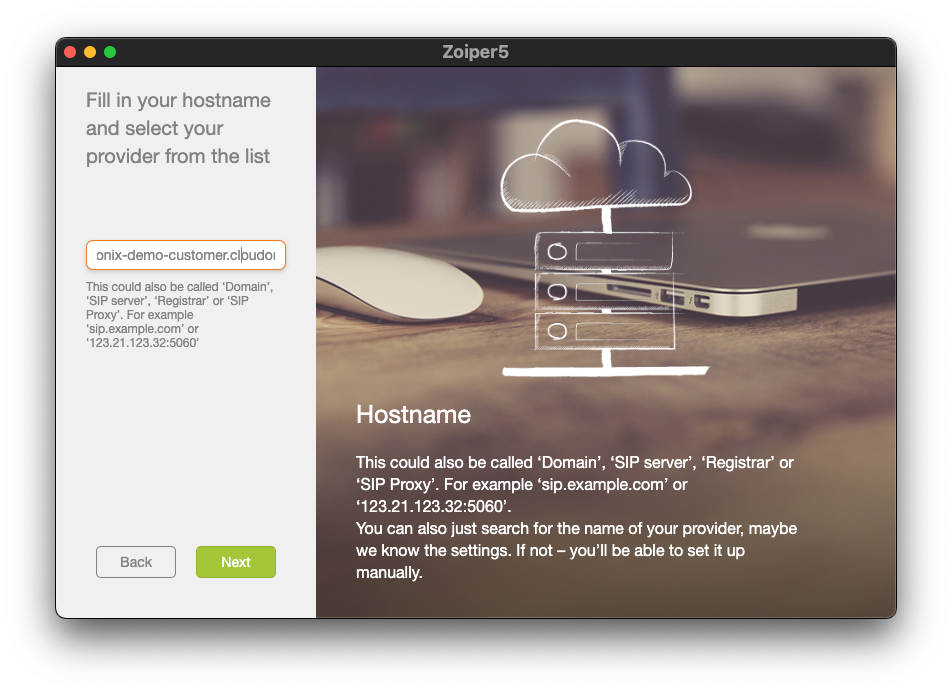
Once your form is filled, click the green Login button. The following screen will appear:
As you notice, the form is already filled here for you. Cloudonix maintains a wildcard FQDN called *.cloudonix.net - which
means, that any domain name that is part of the cloudonix.net domain name, will resolve to the correct Cloudonix subscribers
gateway.
If you wish to use your own FQDN with Cloudonix, make sure to create the following DNS record, to make your FQDN fully active.
| Name | Record Type | Value | TTL |
|---|---|---|---|
| your.fqdn.domain.name | CNAME | sip.cloudonix.io | 60 |
Click the green Next button to continue; the following screen will appear:
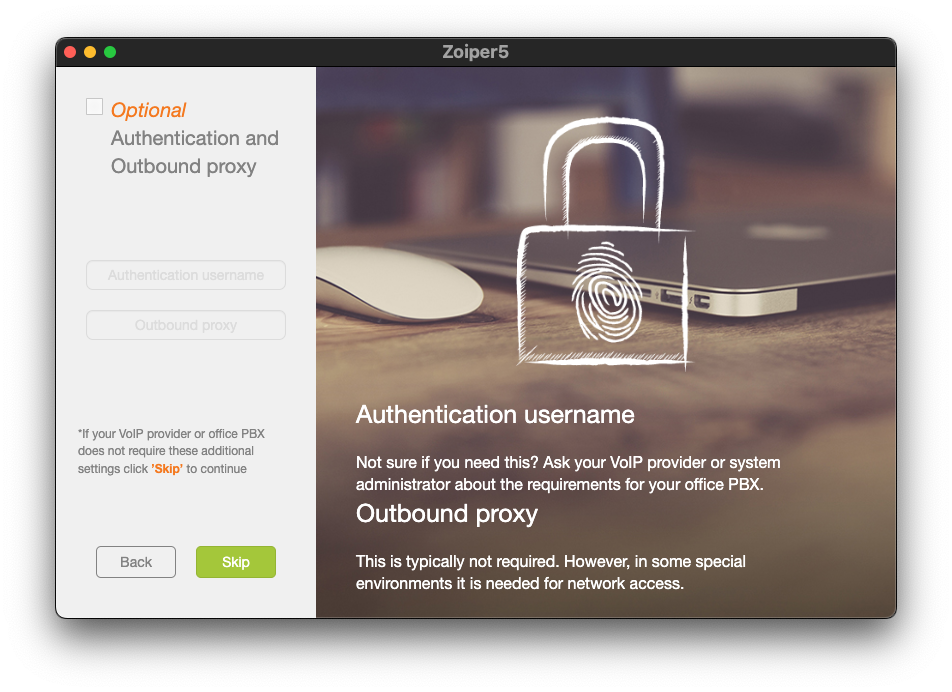
Click the green Skip button to continue; the following screen will appear:
Click the green Next button to continue; the following screen will appear:
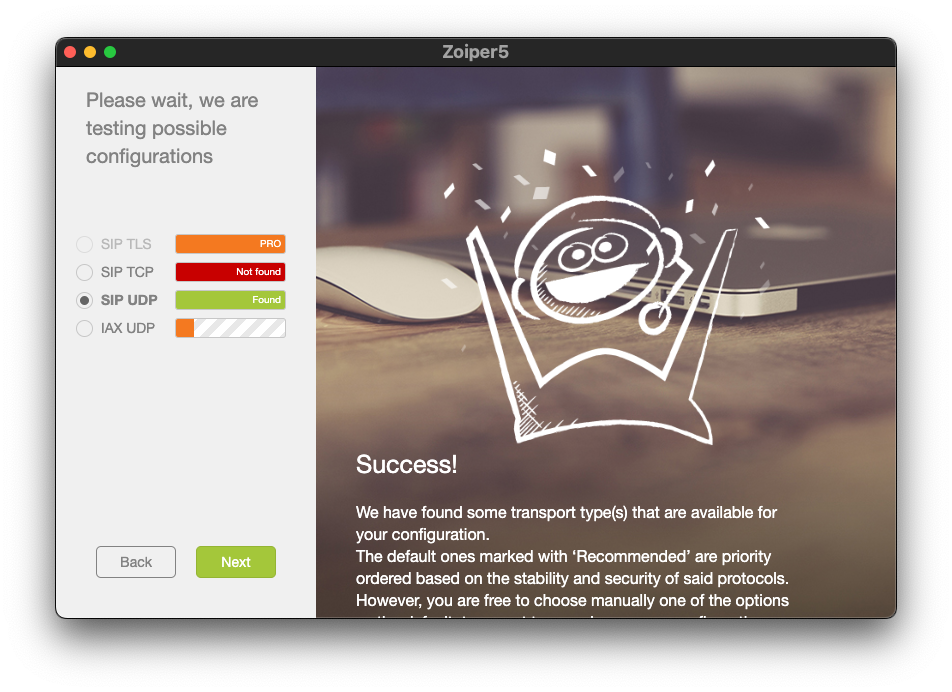
Pay attention to the green checkmark, to the left of your username at the top part of the window.
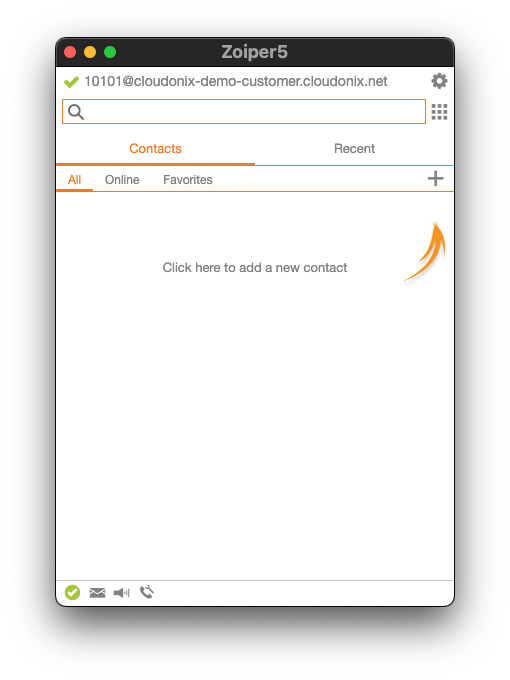
Congratulations, you're SIP software is connected to Cloudonix and is ready to work.